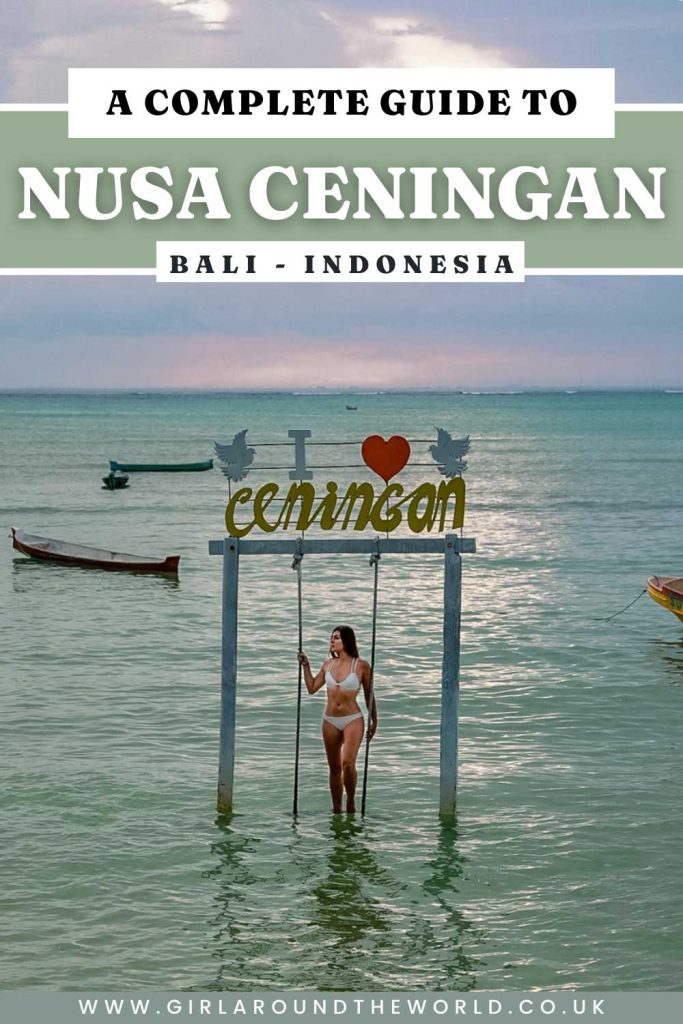
8 Amazing Things to Do in Nusa Ceningan, Bali
Planning a trip to Nusa Ceningan island or all three Nusa islands on the Southeast Coast of Bali, Indonesia? That sounds like an amazing plan!
You must now be looking for all the best things to do in Nusa Ceningan. That’s great because you opened the right article, my friend. From the Blue Lagoon to Secret beach and cliff jumping at Mahana Point, get ready to read everything you need to know to visit Ceningan island!
If you’re planning an extensive trip to visit all three Nusa Islands, these two blog post will be useful to you as well:
- 8 Things to Do in Nusa Lembongan Island, Bali
- 6 Things to Do in Nusa Penida, Bali
Or, if you’re looking for a round-up on all three, this is the full blog post for you:
Complete Guide to the Nusa Islands, Bali.

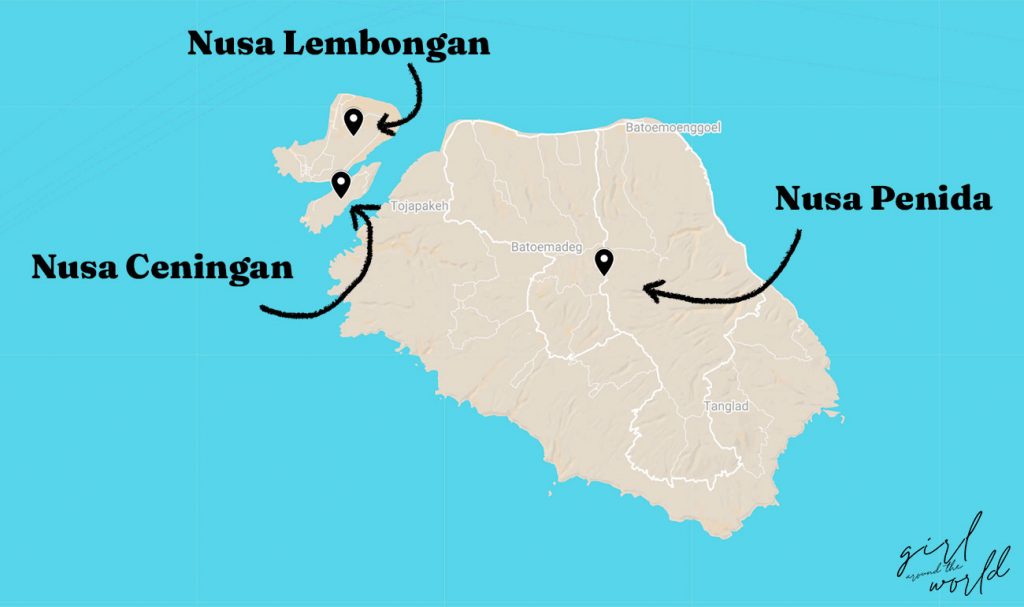
Where is Nusa Ceningan Island?
Nusa Ceningan Bali is a small island a short boat ride away from the Balinese coast in Indonesia. The boat actually drops you at the larger island of Nusa Lembongan, which is connected to Nusa Ceningan by a narrow yellow bridge.
Whether you choose to stay on popular Nusa Lembongan or prefer the more remote Nusa Ceningan, you can easily explore both by scooter as the islands are easily covered in a few hours or a day trip.
With crystal-clear waters, palm trees, dramatic cliffs and fun, social beach club vibes, many come here in search of the tropical island life feel that Bali mainland seems to have lost.
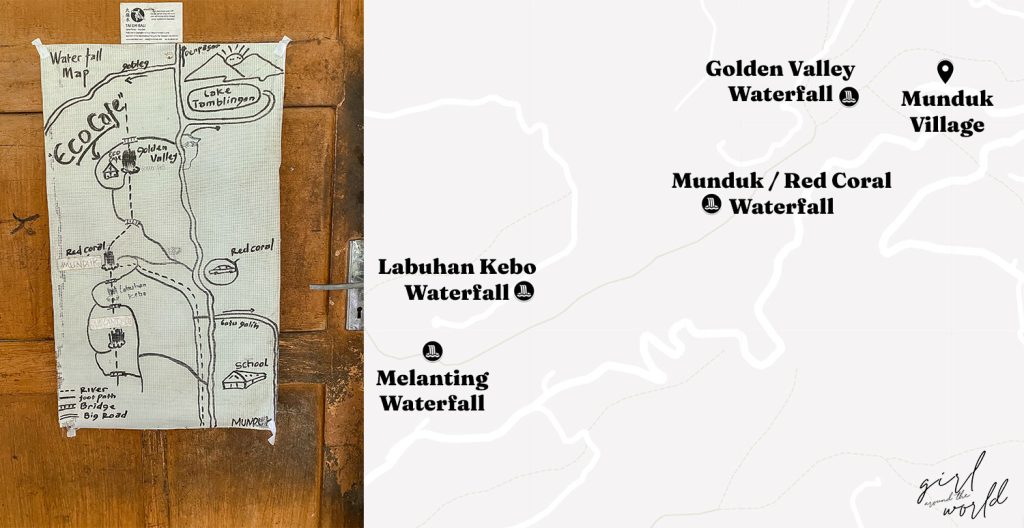
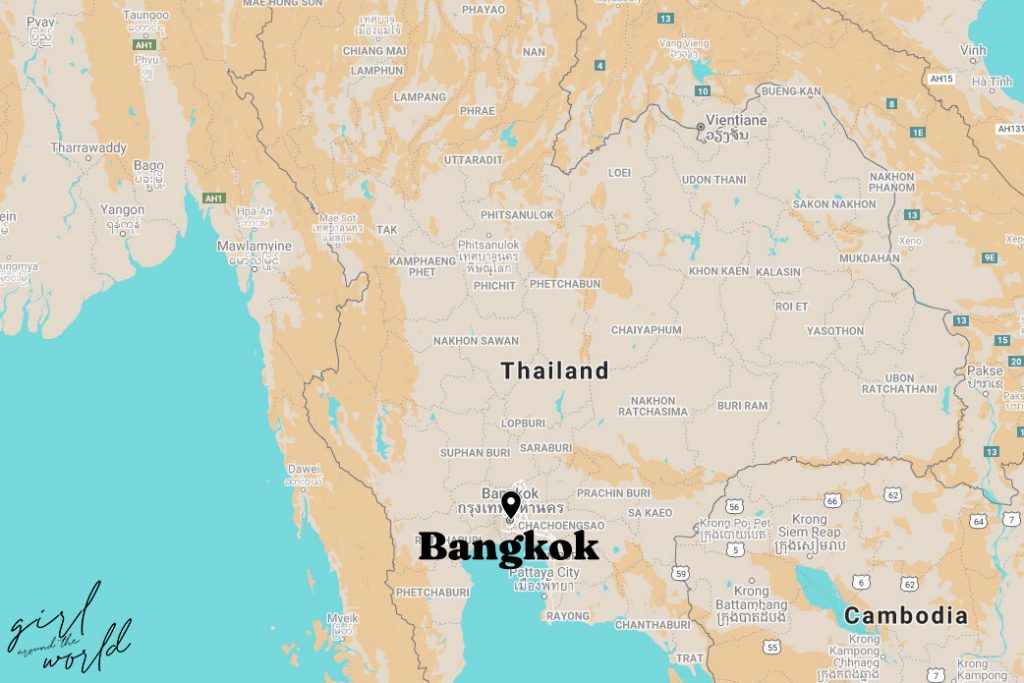
Here’s a map of Nusa Ceningan to see exactly where the below places are located:
Round up of the best things to do in Nusa Ceningan
Nusa Ceningan Bali is the smallest of the three islands, with a laid-back vibe, perfect for relaxation away from the crowds.
Keep in mind that there aren’t as many restaurants and bars here compared with the other two above. But still, with tons of awesome things to do, you won’t get bored!
Here are some unmissable things to do in Nusa Ceningan by travel style:
- Best for first trip visitors – Blue Lagoon
- Best for nature lovers – Diving with manta rays
- Best for beach bums – Visit the Secret Beach
- Best for poolside cocktails – Chill at Driftwood Bar
- Best for adrenaline junkies – Mahana Point cliff jump
- Best for active travellers – Zipline around Nusa Ceningan
1 – Cliff jump at the Blue Lagoon

The Blue Lagoon has one of the most beautiful shades of turquoise I have ever seen and it’s definitely up high on everyone’s itinerary for Nusa Ceningan.
But there’s more to the Nusa Ceningan Blue Lagoon than you might expect! If you’re looking for a bit of a thrill, this is the place for you.
The rocky cliffs around the cove of the Blue Lagoon is the best cliff jumping point in Bali for experienced cliff jumping. I’m talking drops between 4 and 13 meters (wowcha!).
Not feeling adventurous? If you’re not down for a cliff jump, you can just sit on the rocks and enjoy the view at Nusa Ceningan Blue Lagoon.
The glittering water, the scenic landscape, the waves crash into the cliffside, the setting sun… just hope you don’t see anyone belly flop!
2 – Swim with Manta Rays
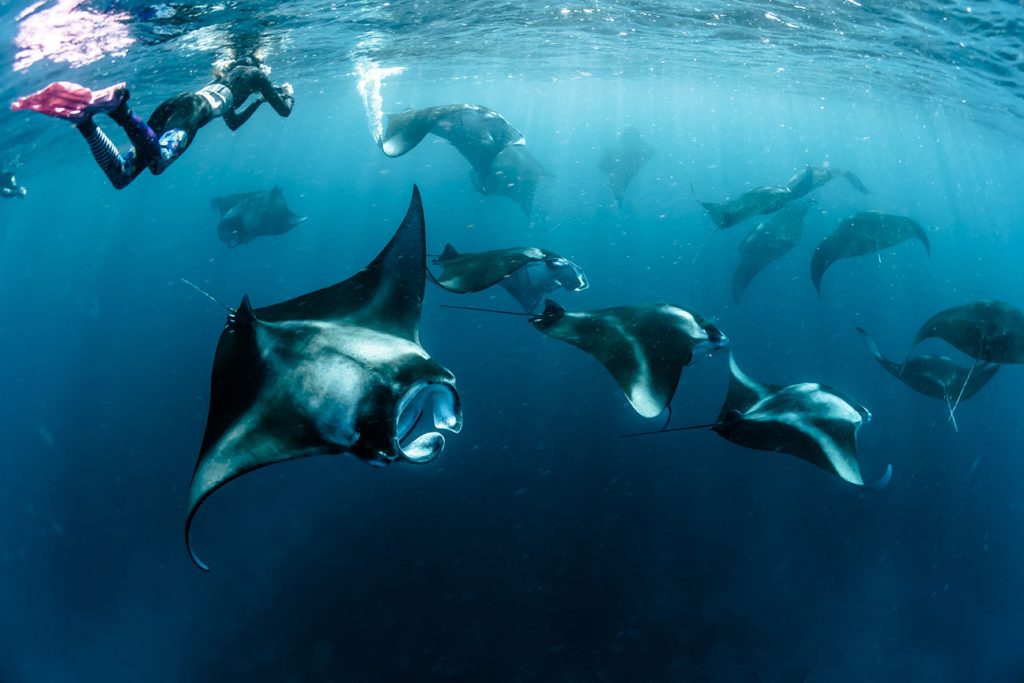
There are some incredible diving and snorkelling spots around the Islands. The most famous spot is Manta Bay. Here you can swim with a squadron of gigantic manta rays, amongst other sea life while exploring the incredible underwater world.
Private or group tours to Manta Bay can be arranged from any of the three Nusas.
Some great diving tours:
- From Lembongan: 3 Snorkeling Spot Day Trip to Penida
- From Bali: Swim with Manta Rays in Nusa Penida
- From Bali: Lembongan & Penida 2-Day Tour with Snorkeling
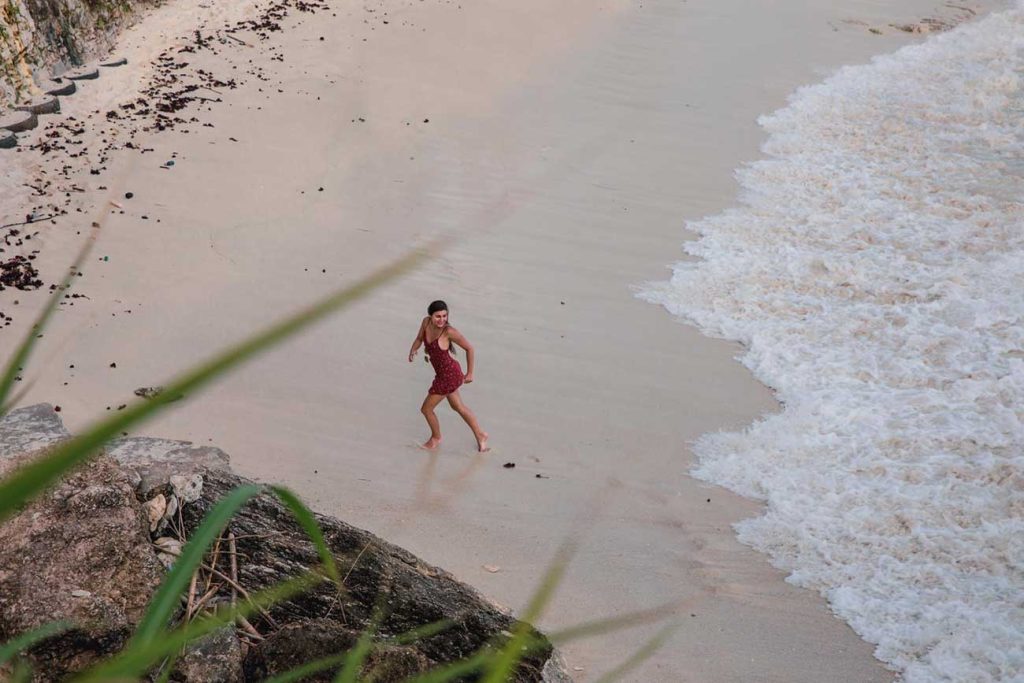
3 – Visit the best beaches in Nusa Ceningan
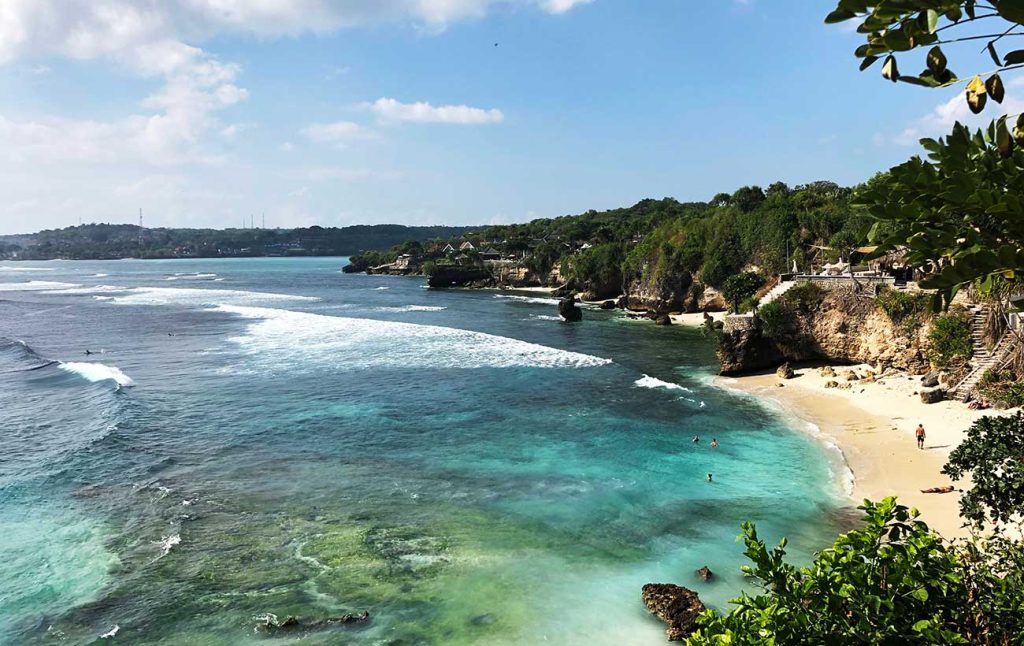
Everyone knows Bali has some of the most beautiful beaches in the world and Nusa Ceningan, although such a small island, is no exception.
At the ends of the bumpy roads of Nusa Ceningan, you can find some incredible spots with different features, from paradisiac sandy beaches with quiet waters to rocky shores where the waves crash.
My favourite beaches are: Secret Beach (which is now not-so-secret-anymore) and Song Tepo Beach.
You can also add The Sand Nusa Ceningan as a notable beach with plenty of good reviews, but we didn’t get to visit it.
4 – Surf or cliff jump at Mahana Point
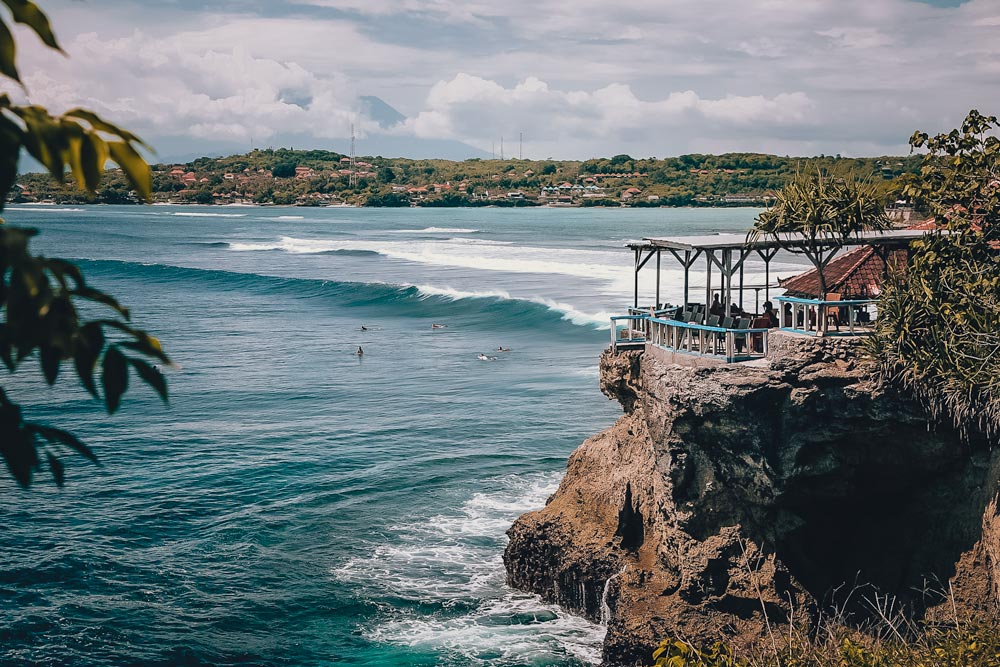
Mahana Point is a cliffside restaurant that offers amazing ocean views and three of the best cliff-jumping platforms on the islands. The restaurant has three cliff jumping diving boards and the system of pay-per-jump, where visitors can jump and climb back up using the ladder.
Mahana Point is also the name of the surf spot, named after the restaurant, a reef break for intermediate level surfers.
In case you’re not interested in surfing the waves or taking the leap at Mahana Point cliff jump, you can simply chill out, grab a bintang (local beer) and admire the view.
TIP: If you want to cliff jump, make sure you visit at high tide when the water is deepers.
Price: 50,000 IDR (3.50 US$) for the higher cliff jump and 25,000 IDR (1.75 US$) for the smaller cliff jump.
5 – Enjoy a cocktail at a beach club

Beach clubbing is a rising trend and Bali provides some of the best. Whether you’re looking for a secluded poolside hidden gem or a fun and social atmosphere, Nusa Ceningan has some great beach club options for a sunny day session.
My favourites in Nusa Ceningan are Sea Breeze Beach Club for its fun, social vibe, or if you are feeling something fancier, check out Klyf Club on the other side of the island with views of the Blue Lagoon and great food options.
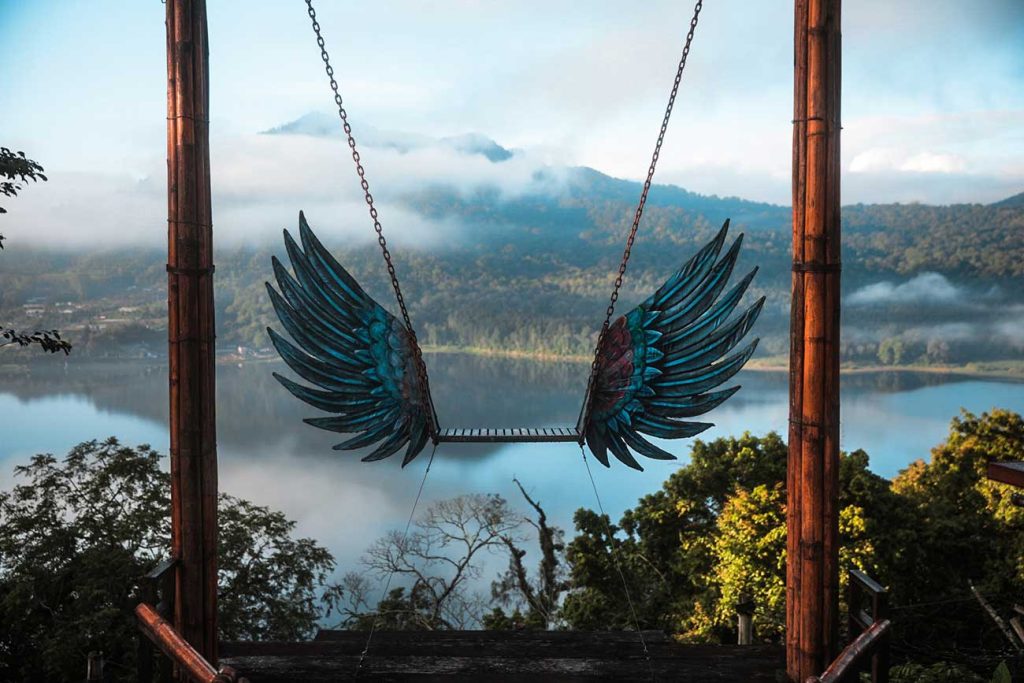
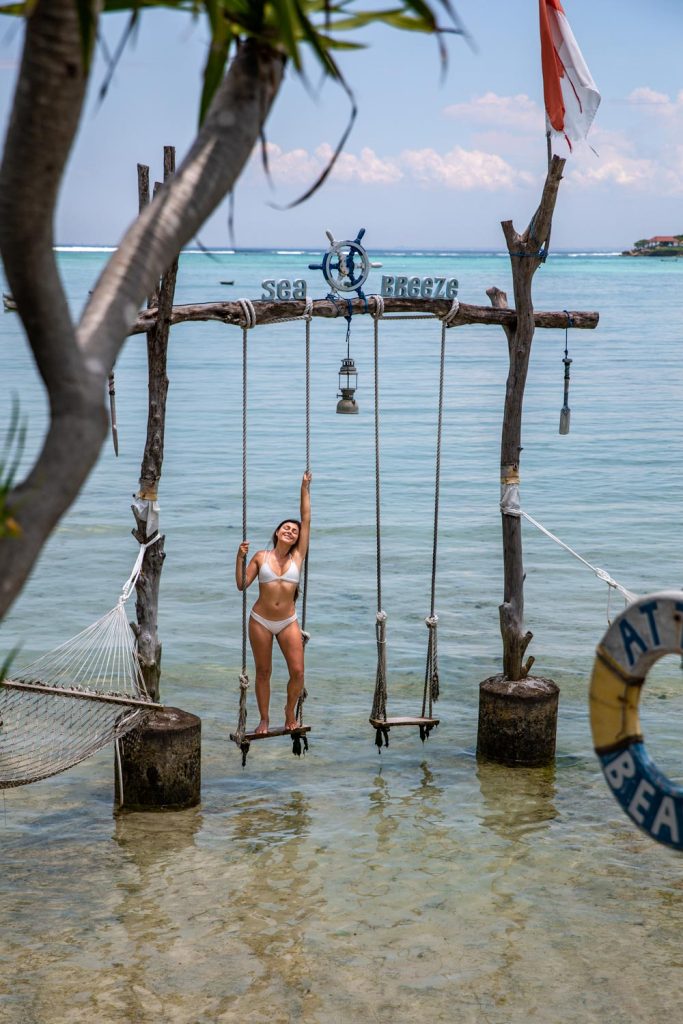
6 – Take pictures with the beach swings

You’ll find sets of swings hidden across the beaches on the islands. Some set in the water, some on the white sand – either way, they’re fun for a chill or to take a photo!
Keep your eyes open for them!
Below are the ones we found:
- Nusa Ceningan: The Sand, Seabreeze, Secret Point, Song Tepo Beach
- Nusa Lembongan: Dream Beach
RELATED READ: East Bali Adventure – My Recommended 10-Day Itinerary
7 – Cross the iconic Yellow Bridge to Nusa Lembongan

Yes, the Yellow Bridge that connects Nusa Ceningan to Nusa Lembongan is an attraction by itself! I recommend crossing it in order to take some pictures, but also to visit Nusa Lembongan – it would be a shame not to!
Aferall, this famous yellow bridge is a landmark in itself!
The bridge isn’t wide enough to let cars cross, so you’ll need to take a scooter or walk.
RELATED READ: Instagrammable Bali – 15 Instagram Spots in Uluwatu
8 – Zipline across the water

Here’s another suggestion for the adventure-seekers: you can go zip lining across the cliffs at Abyss Zipline, which is right at Nusa Ceningan Resort.
Afterwards, you can unwind and enjoy the cliff top pool while sipping on a cocktail or a beer at the bar (Driftwood Bar).
RELATED READ: A Guide to Paragliding in Bali – Uluwatu
How to get to Nusa Ceningan
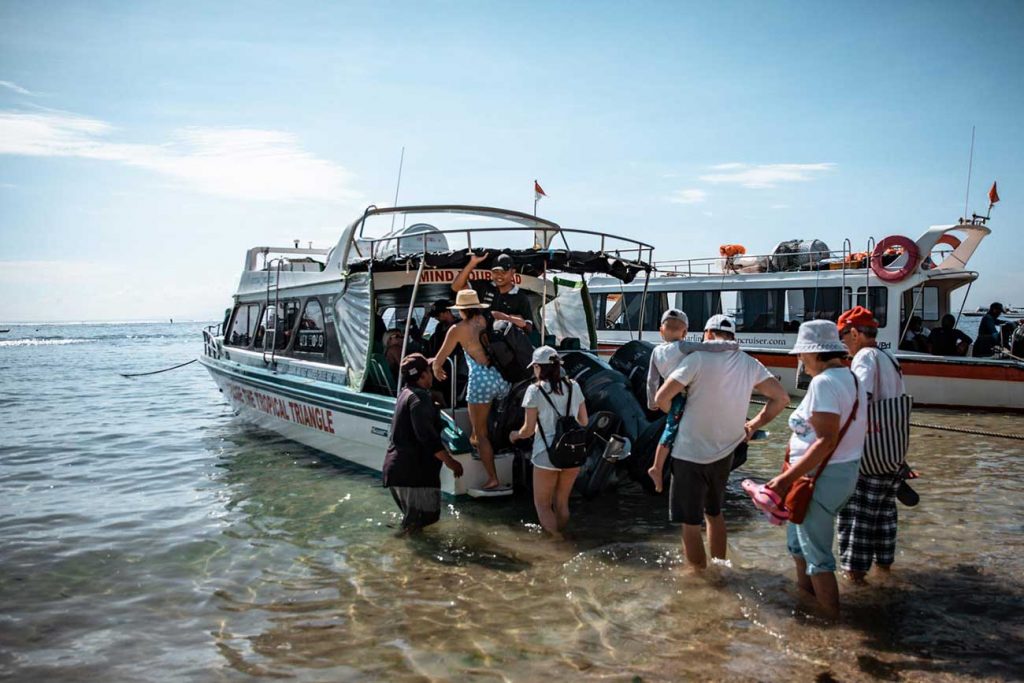
You cannot get to Nusa Ceningan directly from Bali. The most popular route is via Nusa Lembongan (where most people tend to stay during their trip) to Nusa Ceningan.
Bali to Nusa Ceningan Island
First time coming here?If you want to find out how to reach Nusa Lembongan from Bali, I recommend reading my complete Nusa Lembongan guide – I explain everything here on how to book a direct ferry and how to make sure you get on a fast boat!
Nusa Lembongan to Nusa Ceningan Island
There’s a famous yellow bridge connecting Nusa Lembongan to Nusa Ceningan called the “The Bridge of Love” as it has been renamed after its reconstruction in 2017. You can easily cross it by scooter or walk, but it’s too narrow for cars.
Nusa Penida to Nusa Ceningan Island
If you, on the other hand, want to reach Nusa Ceningan from Nusa Penida island, you can take a local boat at Toya Pakeh harbour. The ride only takes 15 minutes and the price is 50.000 IDR (3.50 US$) per person one-way.
RELATED READ: 6 Unmissable Things to Do in Ubud, Bali
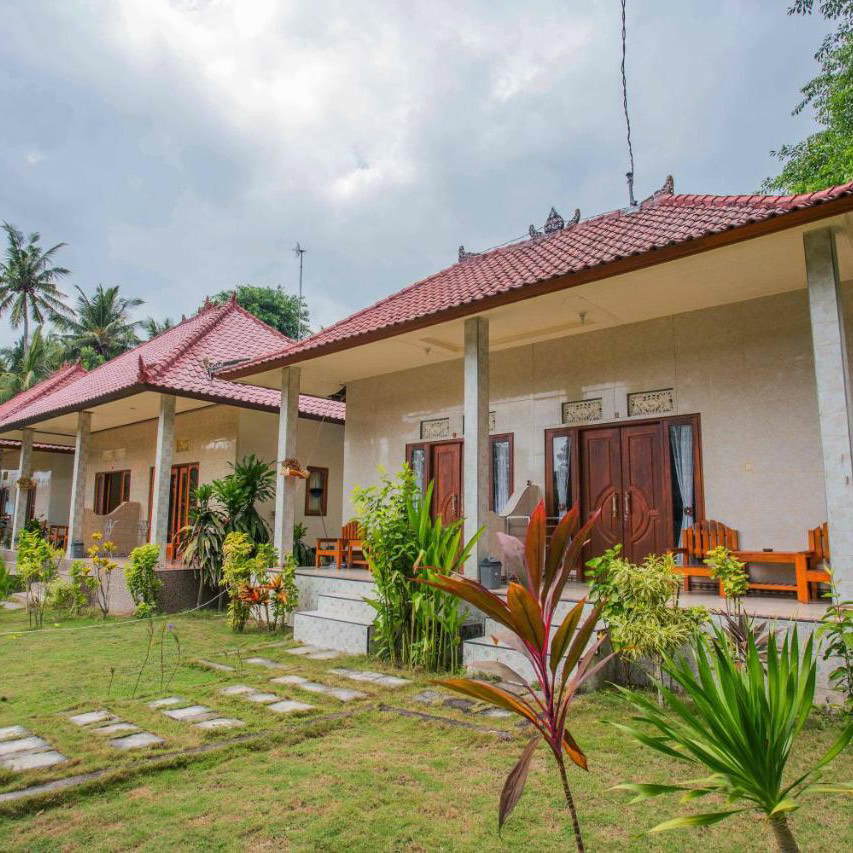
Where to stay in Nusa Ceningan Island
Here are my hand-picked recommendations for the best places to stay on Nusa Ceningan during your trip:
RESORTS:
Twilight Ceningan
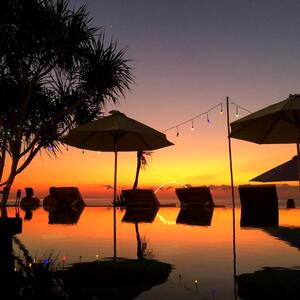
A gorgeous 4-star accommodation that has literally everything you can think of: beach access, an infinity pool overlooking the ocean, a bar, a restaurant and countless opportunities for snorkelling and fishing as well. A perfect place for some world-class relaxation!
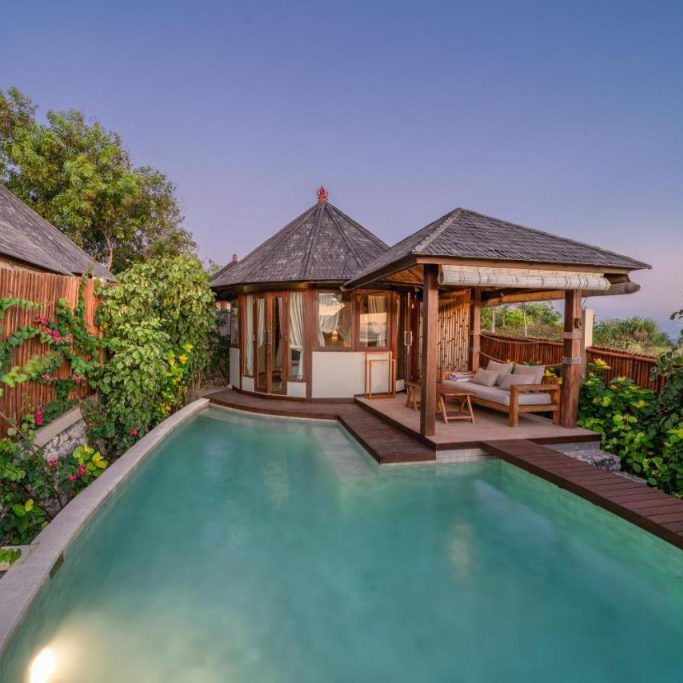
Blue Lagoon Avia Villas Nusa Ceningan
Located pretty close to Devil’s Tear, Blue Lagoon Avia Villas is a beautiful 4-star Nusa Ceningan hotel with an infinity pool where you can stay and splash all day. If you’re bored, you can relax in the garden or sip a cocktail at the on-site bar!
MID-RANGE:
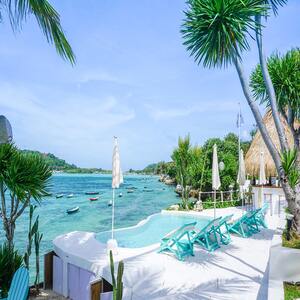
Le Pirate Beach Club
In case you’re looking for a good value beachfront accommodation, this one’s for you! They have free wifi, cute decor, excellent seating areas, sea views and everything in-between!
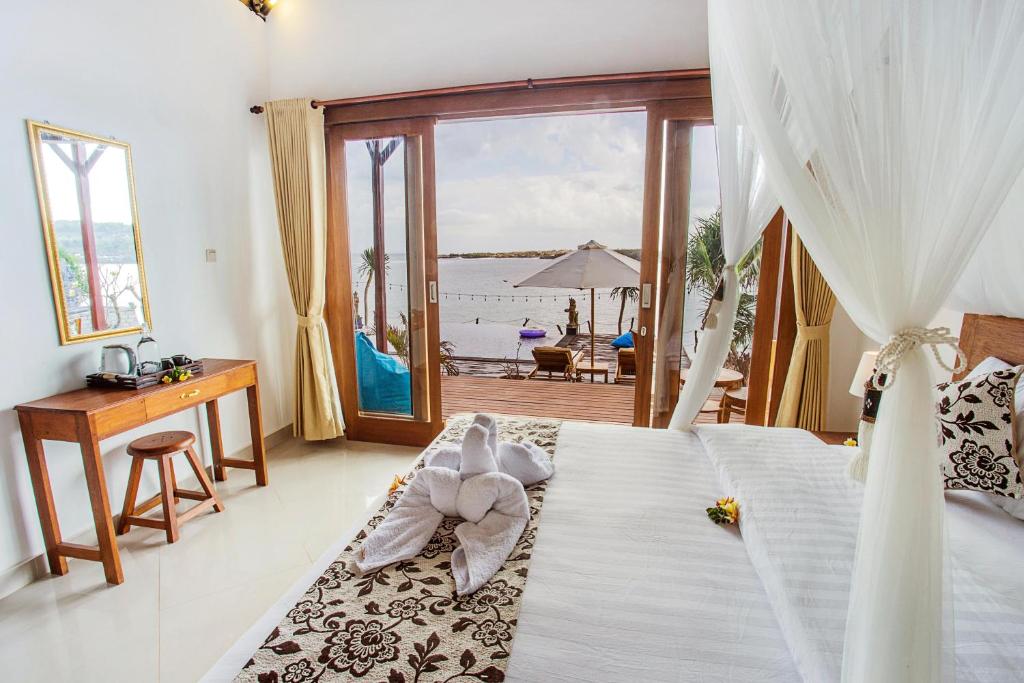
Tatak Bunut Villa
This 3-star accommodation is not far from the Blue Lagoon Nusa Ceningan and it has a great on-site restaurant, yummy breakfast, an outdoor pool and even rooms with a sea view!

BUDGET:
Nusa Veranda Sunset Villas & Restaurant
A great location, pretty private rooms, private bathroom and a laid-back vibe – this accommodation is simply a good choice! They also have a sun terrace and the possibility to book various activities around the island through them.
Ceningan Inn
The breakfast is included in the price here and this already sounds amazing! This cosy inn has great prices, clean rooms, free Wi-Fi and more and it’s also located very close to Song Tepo Beach.
How to get around Nusa Ceningan island

If you’re only visiting Nusa Ceningan, the good news is that you can easily explore Nusa Ceningan on foot or bike, without the need to rent a scooter. Walking is completely free (a great advantage) and bikes cost 60.000 (4.20 US$) for an entire day.
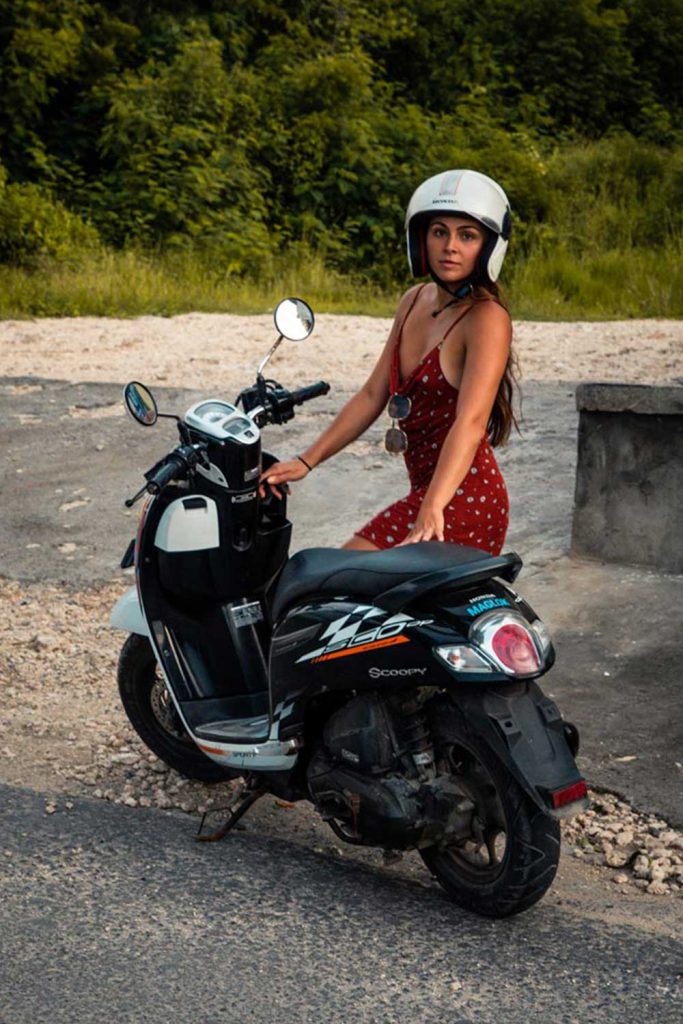
But if you want to visit Nusa Lembongan as well, for example, I recommend renting a motorbike or scooter, especially if you’re a confident driver.
It’s a fun and easy way to explore the island and see the hidden and hard-to-reach places. The roads are much quieter than on mainland Bali and with less traffic, it feels much safer too.
There is a small yellow bridge that connects Nusa Lembongan to Nusa Ceningan, so it’s easy to cover both islands in a couple of hours’ drive.
NOTE: Thinking about renting a car? Think again! You can only reach Nusa Ceningan by bike as the connecting bridge is not wide enough for cars to pass.
RELATED READ: 10 Best Things To Do in Uluwatu, Bali – A Complete Guide
Where to eat in Nusa Ceningan island

Although small, Nusa Ceningan offers enough good places to eat so you won’t get bored during your visit. Here are my best recommendations:
- Sea Breeze Warung – More than a restaurant, Sea Breeze Warung is already a well-known attraction; they have created a space by the sea for people to hang out and socialise, with hammocks, comfy seating, a pool and even some swings.
- Next Level Cafe – A cute little open-air cafe with good coffee, good food and a beautiful view of the water. The brunch here is damn good too!
- Le Pirate Nusa Ceningan Beach Club – a cool beach bar where you can eat, drink and, if you pass the minimum spend, you can also take a jump in their pool!
- Klyf Club – with amazing views of the blue lagoon, come here to chill out and enjoy a luxury pool club vibe at the beach bar.
This was my complete guide that contains all the best things to do in Nusa Ceningan as well as the best places to stay, restaurants and info about how to get there and how to get around the island.
From laying on the beach or splashing around in infinity pools to cliff jumping at Mahana Point or the Blue Lagoon, sipping cocktails at the beach bars and tasting all that amazing island food, I promise you won’t get bored on this beautiful island in Southeast Asia!
Nusa Ceningan is a perfect destination if you’re a couple, a digital nomad, for solo travelers, or if you’re visiting with your family and more!
Need more help with planning your Bali holiday? I recommend clicking here to find all my articles about this place that I consider to be my second home. And here you will find all my articles and adventures in Indonesia.
xoxo
Melissa
Want to know more about travelling to Bali?
- Check out all my Bali Travel Guides here.
- Need to book your flights? Head over to Skyscanner!
- Time to book your boat to get to the Islands? Head over here.
- Not get travel insurance??? Get it – it’s not a hassle you want to risk!
- Don’t forget to download my nifty Google Maps Guide for your trip to Bali so you don’t miss a thing!
Pin me for later!
Sign up for my newsletter!
Want to stay in the loop? Join my exclusive mailing list, plus you’ll gain access to my ever-growing free resource library!